How to Make Headbands
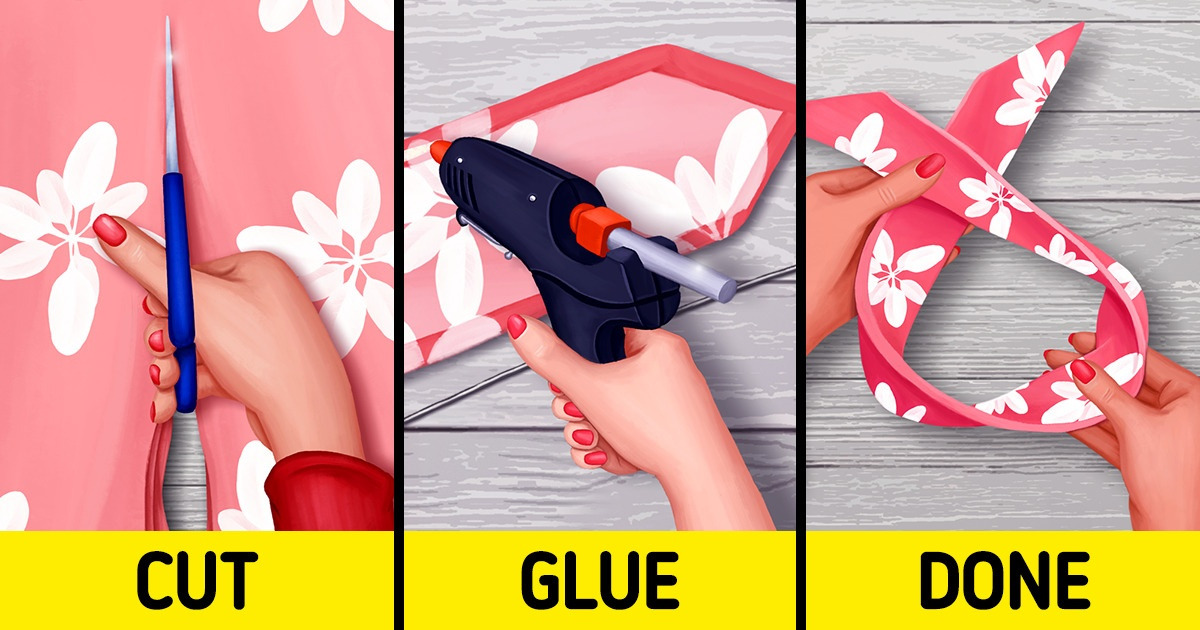
Headbands are a great fashion accessory that can go with any outfit, and making one yourself is the perfect way to add a personal touch to it. 5-Minute Crafts created a simple step-by-step guide to create your own custom headband easily.
❗ Be careful while using the glue gun.
What you’ll need:
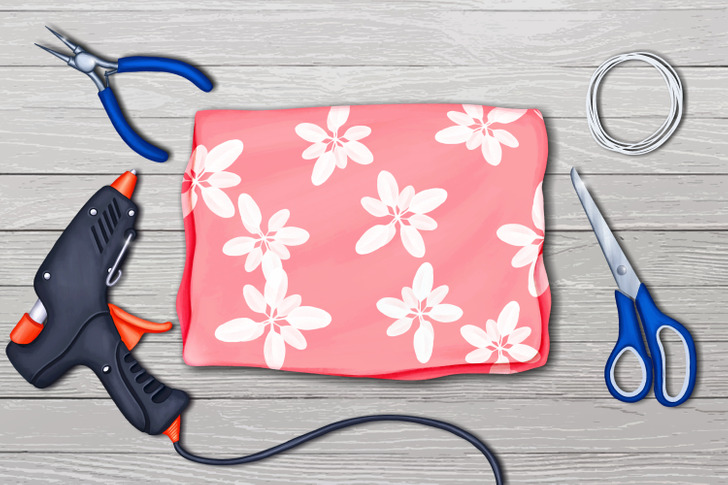
- Fabric
- Pliers
- Wires
- Scissors
- Glue gun
Step 1
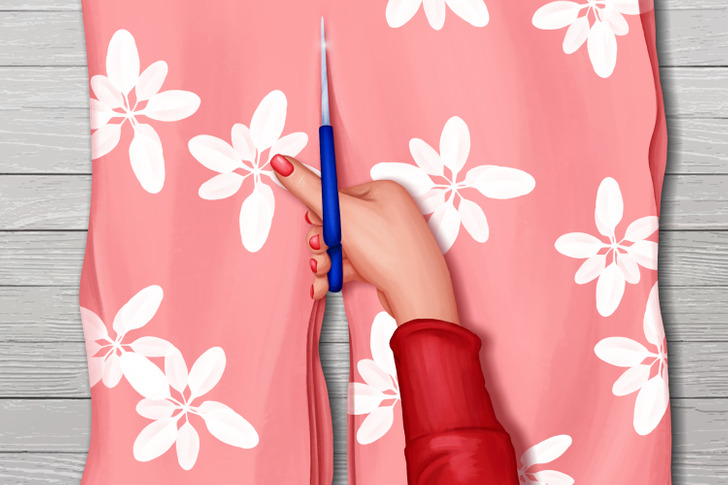
Begin by cutting a 30-inch long, 6-inch wide piece of fabric.
Step 2
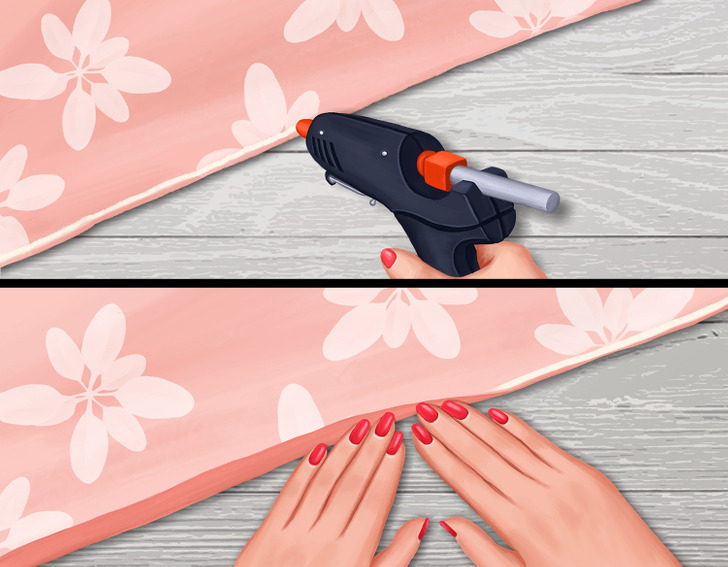
To get clean edges without the need to sew, grab your glue gun and apply it along the fabric’s longer sides and fold the edge inside.
Step 3
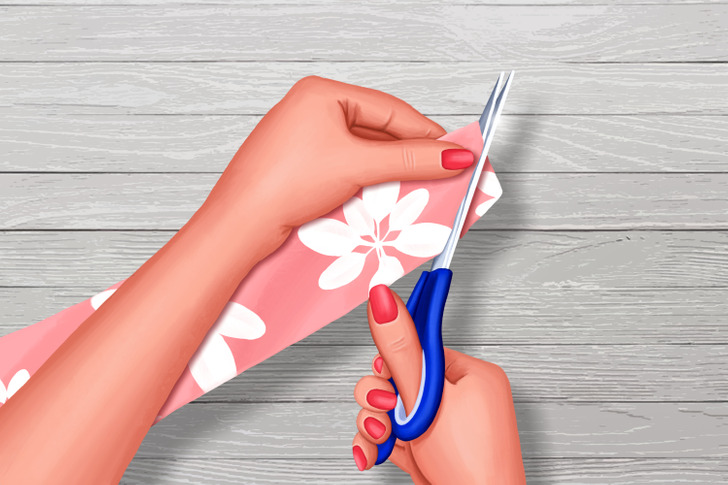
Now, proceed to fold the fabric and cut the sides diagonally.
Step 4
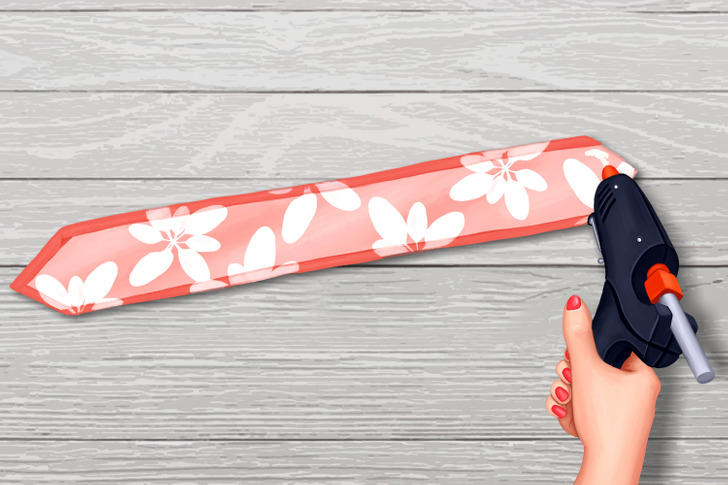
After that, unfold the fabric and apply glue to the sides for a seamless edge as well.
Step 5
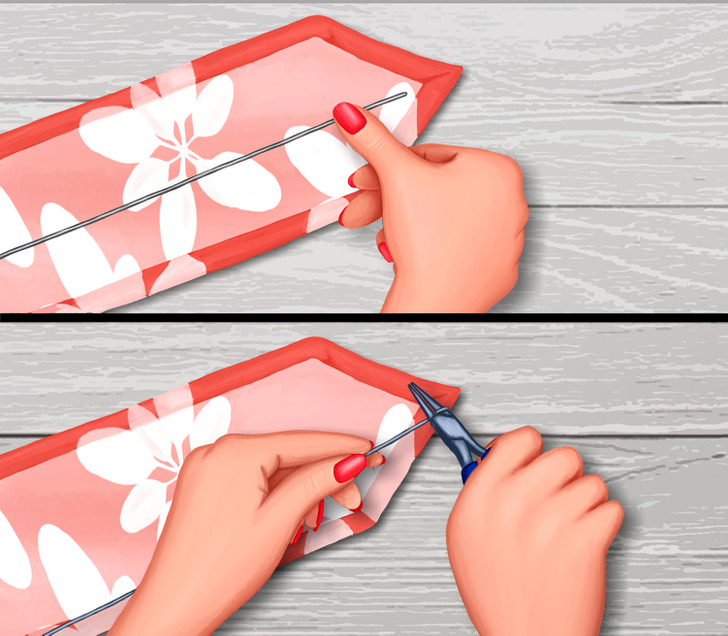
Step 6
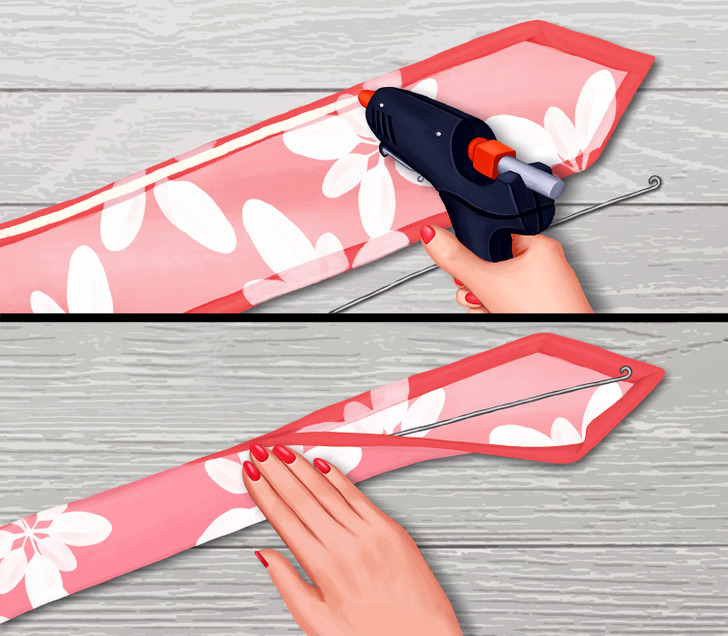
Lastly, get your glue gun and apply glue to half of the fabric. Place the wire in the middle and fold the fabric on top.
Step 7

Wait for the glue to dry, and your new headband is ready!