How to Sew a Button
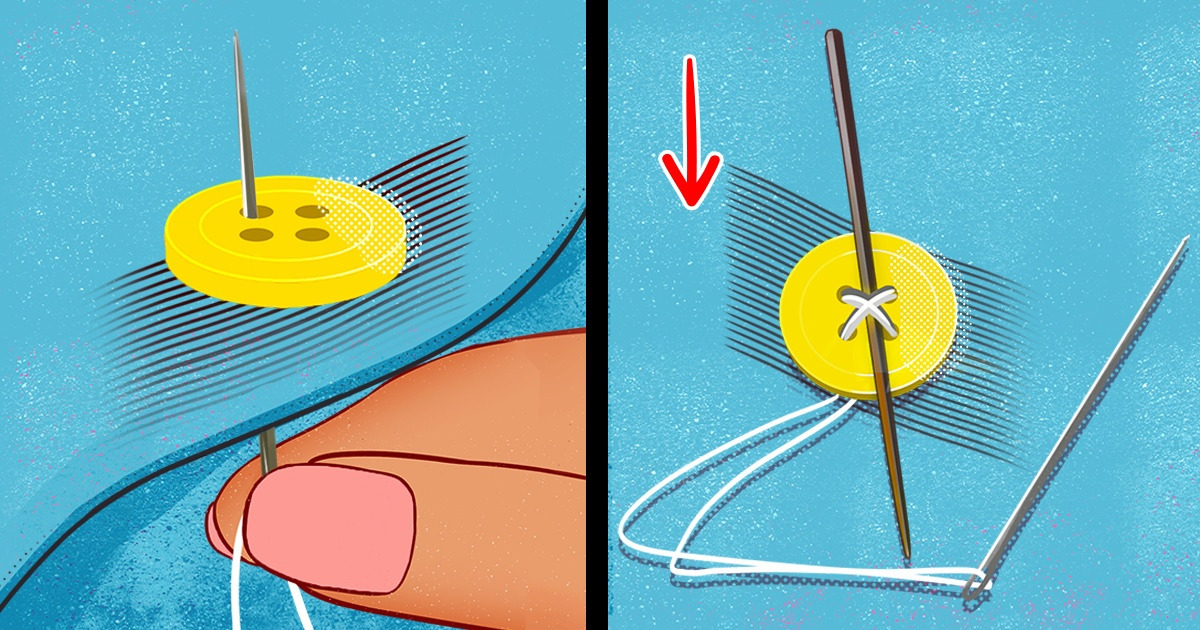
Sewing on a button is a basic skill that will help you prolong the life of your favorite clothes. This process may seem easy at first, but you need to know the right techniques to make sure the button is properly secured.
5-Minute Crafts will explain how to sew different types of buttons by hand so that they won’t fall off at the most inappropriate moments.
Tools
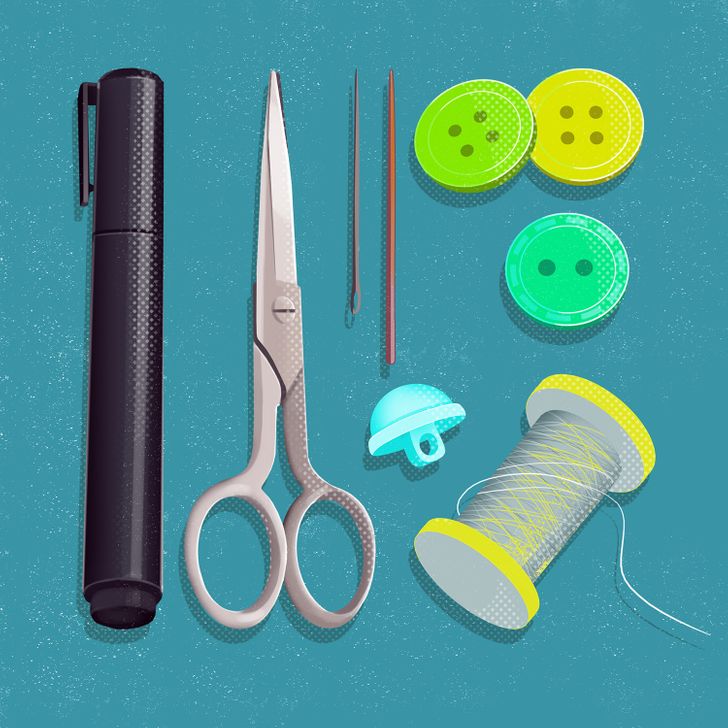
- Buttons
- Thread: You can use any type of thread that matches your fabric, but going for a special button thread is likely to make your repair last longer.
- A sewing needle: You can use any type of needle. Just make sure it’s sharp and thin enough so you can pull it through the buttonholes.
- Scissors
- A toothpick
- A fabric marking pen
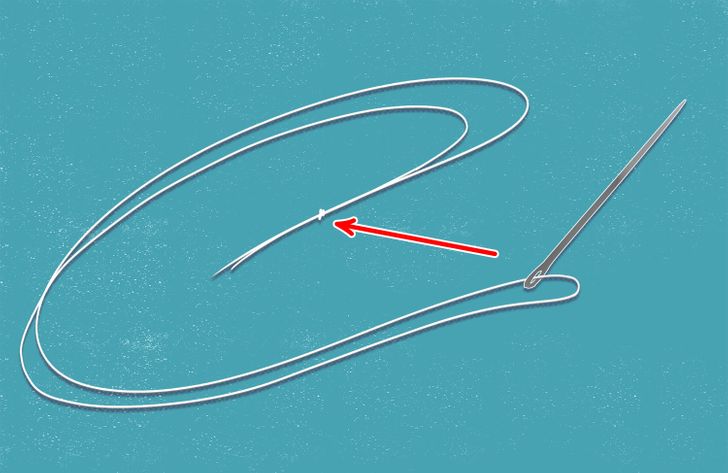
1. Thread a needle and pull the thread through the needle’s eye. Make sure the thread is long enough.
- If you’re sewing a 2-hole button or a shank button, you might want to double the thread to properly secure the button.
- If you’re sewing a 4-hole button, you might want to quadruple the thread to make fewer stitches.
2. Cut the thread, bring its ends together, and tie a tight knot.
The process
1. Flat buttons
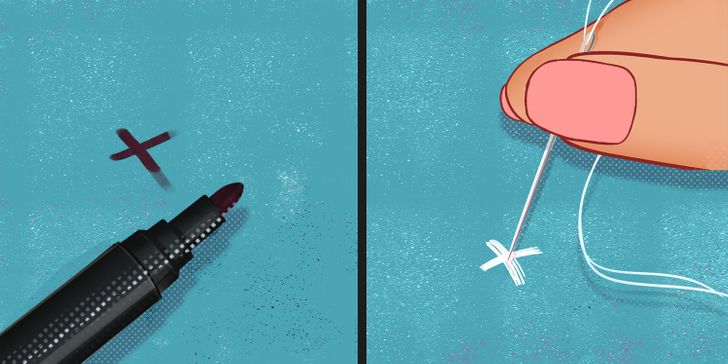
1. Take the item you’re going to sew a button on and smooth out the fabric. Mark a place for a new button with a fabric marking pen.
2. Note: This step is optional, but it’ll help you better secure the thread.
Pierce the fabric from the backside, pull the thread through, and make sure the knot on the end of the thread gets stopped by the fabric. Then make a small stitch, return to the backside, and repeat the process. Your goal is to create a small “X” at the center of the place where you’re going to sew the button.
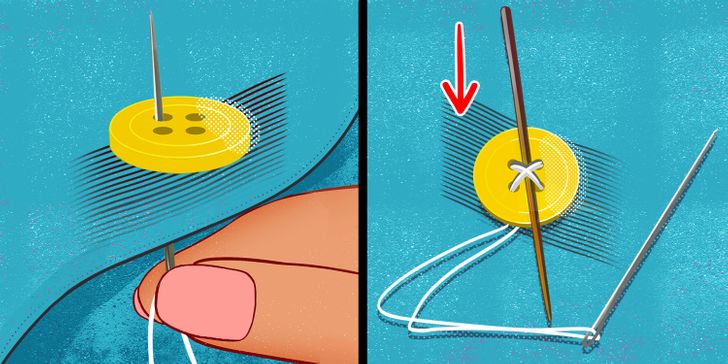
3. Holding the button in place, pull a needle up through the backside of the fabric at the first buttonhole. Then bring the needle down through the other hole.
Note: If you’re sewing a 4-hole button, there are 2 options — you can either make your stitches parallel or form an “X” with them.
- For the first option, bring the needle down through the hole located above or next to the hole you’ve already pulled the needle through. Then pierce the needle up through the third hole and down through the remaining one. This way, the stitches will be parallel.
- For the second option, bring the needle down through the hole that is located diagonally from the first hole. Then pierce the needle up through the third hole and down through the remaining one. You should form an “X” with your stitches.
4. Take a toothpick and insert it into the space between the first stitch and the button. Alternatively, you can slide it between the fabric and the button. Be careful not to damage the fabric.
5. Keep sewing. You need to do about 8-10 stitches for a 2-hole button and 6-8 complete stitches for a 4-hole button.
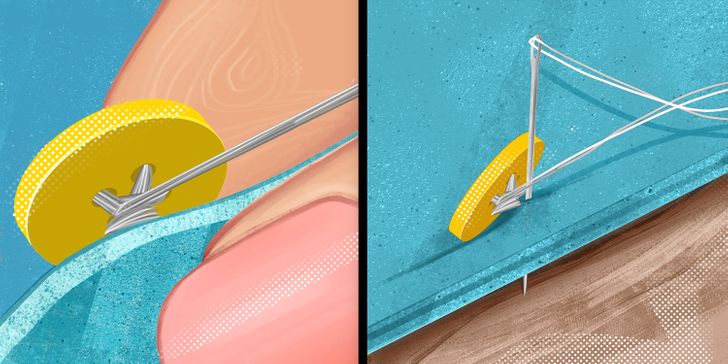
6. When you’re done, pull the needle through the last buttonhole but don’t pierce the fabric. Remove the toothpick, pull the button up a bit, and wrap the thread around the stitches between the fabric and the button 3 times.
7. Then pierce the fabric through one of the thread holes in the fabric. Make another small stitch but don’t pull the thread too tight — you should leave a small loop. Then come through this loop with a needle and tighten the stitch. Make another stitch and repeat the process. When you’re done, cut off the excess thread.
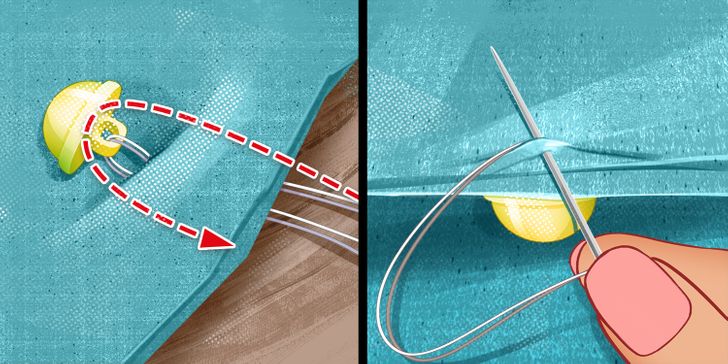
- Pull the needle from the backside of the fabric through the shank and then return to the backside. Repeat the process 6-10 times.
- When you finish, make a few stitches through the thread at the backside to secure it, tie a knot, and cut off the ends of the thread.