How to Make a Compass: 2 Ways
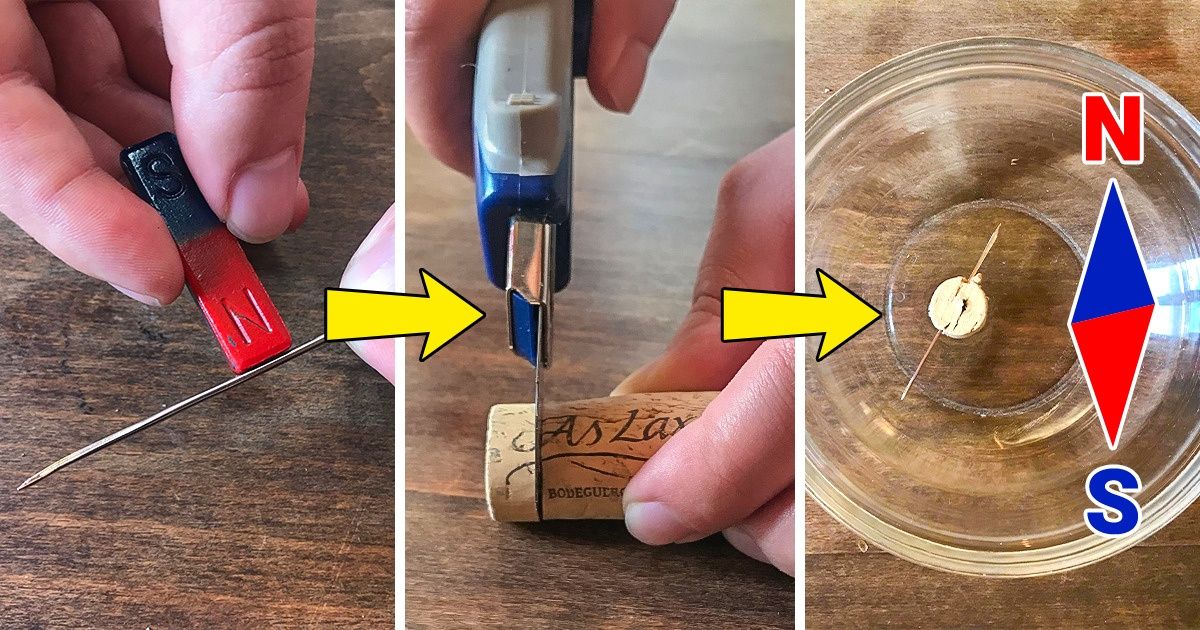
Making your own compass is a very easy and straightforward activity. Not only is it fun, but it might come in handy if you’re ever in the wilderness and you’re doubting where you’re heading, assuming you packed a small magnet with you.
5-Minute Crafts wants to show you 2 different ways to make a compass at home.
A. Floating compass
What you’ll need
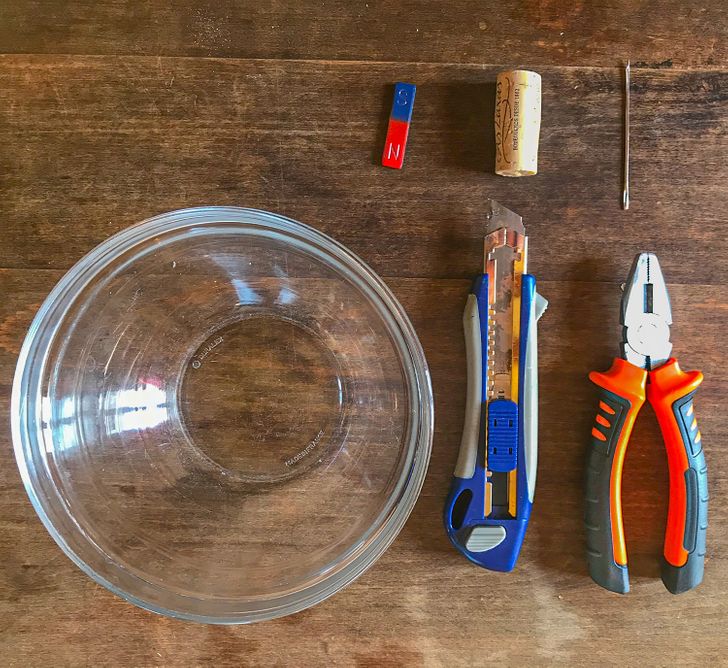
- Magnet
- Needle
- Cork
- Water
- Bowl
- Knife or cutter
- Pliers
Instructions
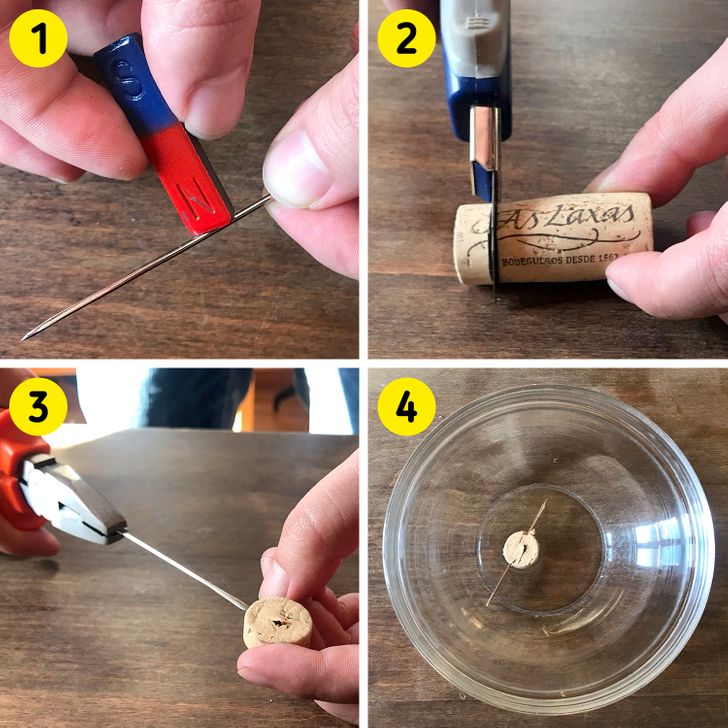
- Rub the magnet along the needle a few times. This has to be done in one direction only.
- Slice the cork to cut off a small circle that is about ¼ inch thick.
- Grip the needle with the pliers and with the circle of cork on a flat surface, push the needle through one end of the cork and out the other. The idea is for the needle to stick out of both ends of the cork evenly. This will be the needle for the compass.
- Fill the bowl halfway with water and float the needle with the cork on the surface of the water. That will be your compass. To use it, you just have to place it on a flat surface.
B. Chinese hanging compass
What you’ll need
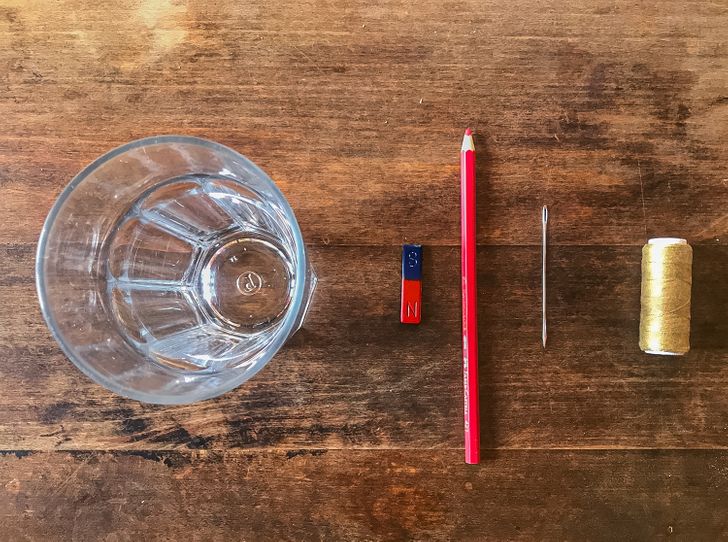
- Needle
- Cotton thread
- Pencil
- Magnet
- Large beaker (or clear or plastic drinking glass)
Instructions
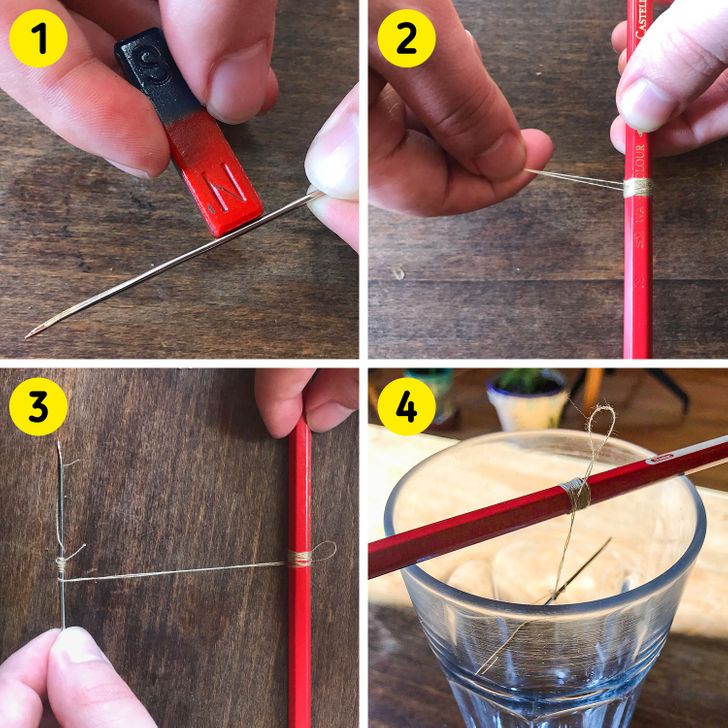
- Rub the magnet along the needle 40 — 50 times. Make sure you always rub in the same direction, using the same end of the magnet each time.
- Tie one end of the string around the middle of the pencil.
- Tie the other end around the middle of the needle.
- Place the pencil across the top of your glass or beaker and carefully adjust the needle so that it hangs straight, horizontally, and can move freely. Your needle will now move so that the point faces in the direction of magnetic north.
Share This Article