How to Clean Car Headlights
Headlights are 2 important parts of a car that contribute to the driver’s safety. Dirty headlights can’t provide the driver with the necessary visibility and can cause various problems, including road accidents.
5-Minute Crafts would like to tell you about how to clean the headlights of your car.
Why headlights get dirty and haze over
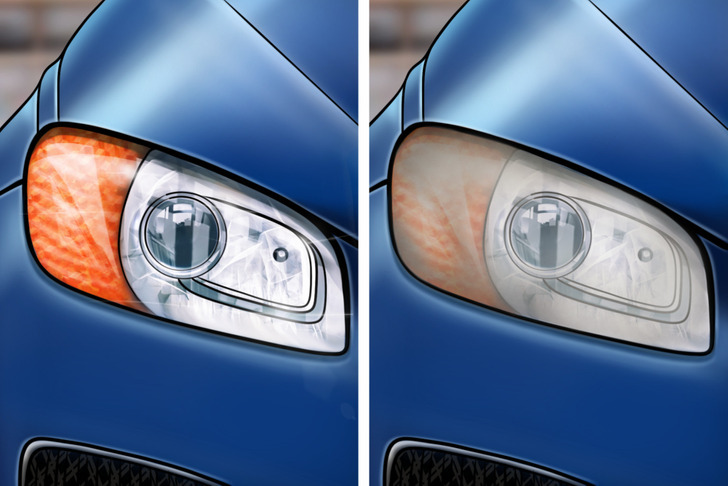
Dust, mud, and small debris on a car can often be removed with water, soap, and a soft sponge. But over time, the car headlights can become cloudy and require special cleaning.
The headlights of most cars are made of polycarbonate plastic. It’s perfect for taking on harsh road conditions but can break in the sun. When they are first made, manufacturers apply a special film to the surface of the headlights which protects them from ultraviolet radiation. Over time, the film is destroyed by UV rays and the plastic begins to oxidize and becomes less clear.
Preparing to clean the headlights
Before the deep cleaning, remove the top layer of dirt from your headlights:
1. Mix dish washer and water in a deep bowl.
2. Wash the headlights with the resulting mixture, wipe with a sponge and rinse with clean water.
3. Dry the surface of the headlights with a soft cloth and then use a glass cleaner to give the headlights an extra shine.
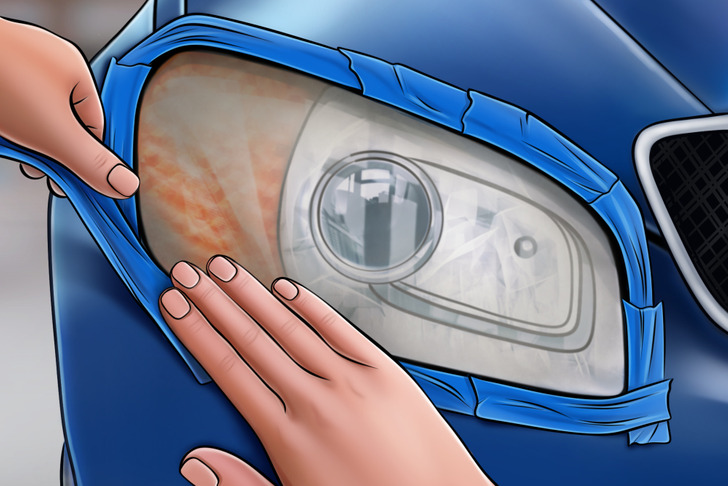
If the dirt is minor, this may be sufficient. If the headlights become cloudy, outline them with masking tape to prevent abrasive cleaners from getting on the surface of the car body, and then choose one of the cleaning methods below.
❗ Don’t use electrical tape or tape with a strong adhesive coating because you might damage car paint when you remove the tape.
Bug spray
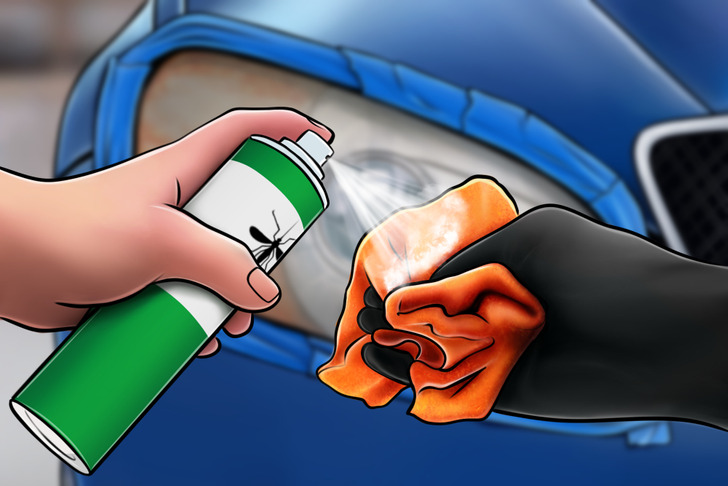
This method will help to quickly improve the appearance of the plastic, although it won’t solve the problems associated with cloudy headlights.
1. Apply a small amount of bug spray to a soft cloth (don’t spray directly on the headlight!) and wipe the surface of the headlights.
2. Rinse off the remaining product with water and wipe with a dry cloth.
❗ Be careful: Getting certain products on the surface of the car body can damage its paint job.
Special headlight restoration kit
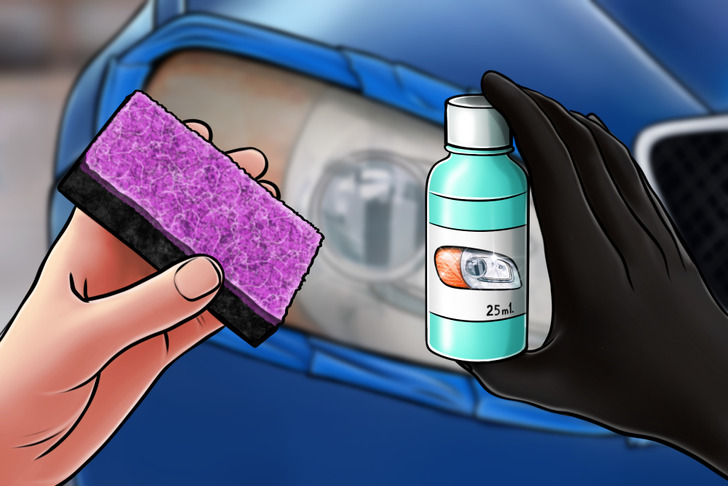
You can find special headlight restoration kits in auto stores. Usually, they include a special compound and a cleaning pad. To use the kit, follow the instructions on its packaging. It usually involves the following steps:
1. Apply a small amount of the cleaning compound to the pad and wipe the headlight with it.
2. Use a damp, soft, clean cloth to wipe the headlight and remove any residue.
3. Wipe the headlight with another clean cloth to dry it.
4. Sometimes after that, manufacturers recommend spraying on a protective coating that will prevent the headlights from hazing over.
Toothpaste
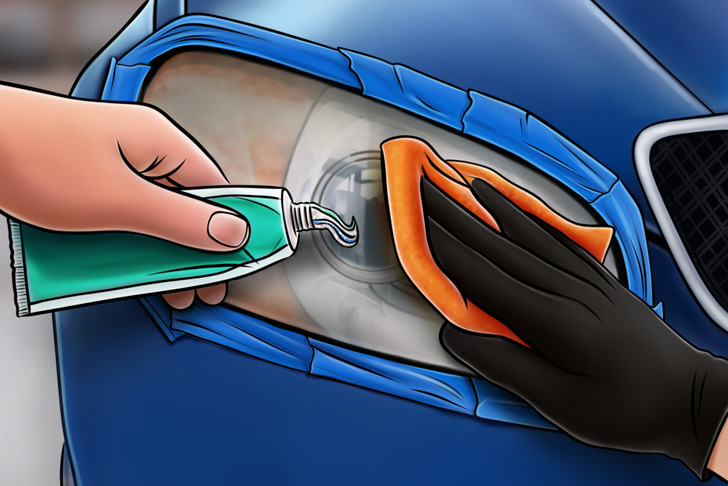
If you don’t have a special headlight cleaner, you can use regular toothpaste to clean it.
1. Using a small brush or sponge, apply toothpaste to the headlight. With soft movements, clean the contaminated areas until the dirt starts coming off.
2. Use warm water and a soft cloth to remove the cleaning mixture from the headlight.
3. Don’t forget to polish your headlights after cleaning.
✅ You can also use a paste made from a mixture of water and baking soda, or a mixture of toothpaste and baking soda.
Baking soda and vinegar
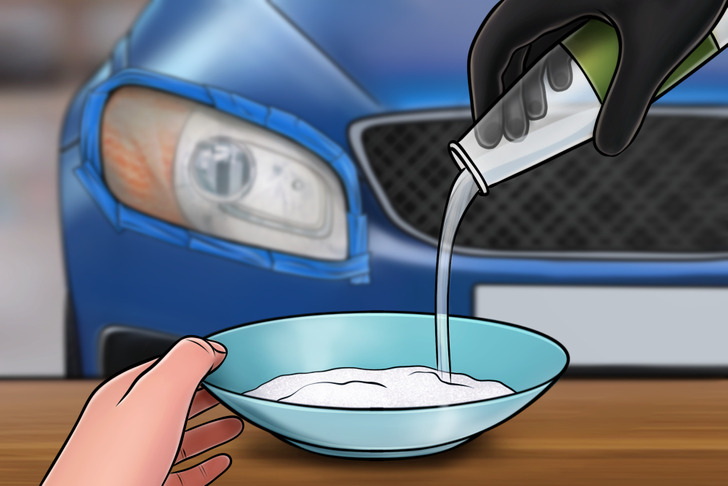
1. Mix baking soda with vinegar.
2. Using a soft cloth or an old toothbrush, apply the mixture to the surface of the headlight.
3. Wash the headlight and repeat the process if necessary.
4. Wipe the headlight with a dry cloth, and then, when it’s dry, apply a waxing compound to it.
✅ This method will help you to easily remove dirt and soot from the headlights but it won’t help you deal with the problem of heavily oxidized plastic.
Sandpaper
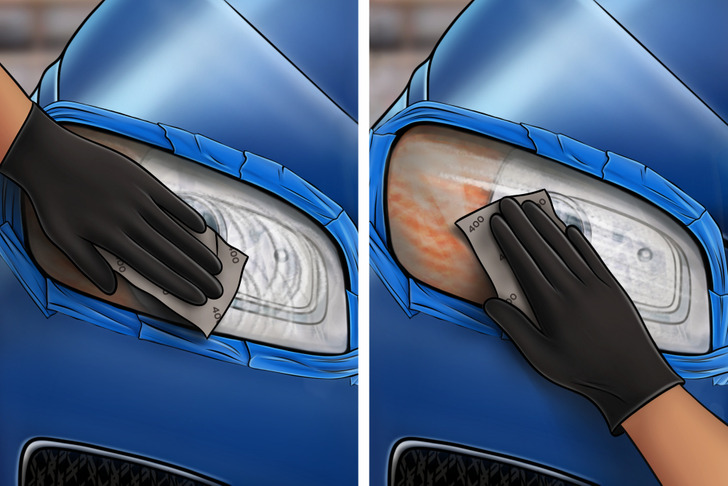
❗ When using sandpaper, be very careful to not further damage the surface of the headlight. If you’re not sure whether you can do it properly, it’s better to leave the deep cleaning to professionals.
1. Prepare everything you need for cleaning: paper towels, rubbing alcohol, a spray bottle with warm water, a soft cloth, various grit sandpaper (e.g. 400, 600, 2000-3000 grit), plastic wrap or a trash bag, headlight polish, carnauba wax, and a UV sealant.
❗ Before proceeding with the following steps, be sure to first complete all the steps described in “Preparing to clean the headlights.”
2. Wet the headlight with water and also dampen a sheet of fine grit sandpaper (lower numbers mean more abrasive). For example, if you have 400, 600, and 2000-grit paper, select the first one for this step.
3. Constantly wetting the surface of the headlight with water, go over the headlight with sandpaper several times with soft circular motions.
4. After the circular motions, wipe the headlight with light horizontal motions, constantly wetting the headlight with water. Take your time and don’t press on the plastic too hard.
✅ After this, you may notice a whitish coating or a few scratches on the headlight. Don’t worry: this white plaque is the remains of the oxidized plastic. And if you’ve done everything correctly, the headlight will get polished in the process.
5. Repeat the cleaning process with 600-grit sandpaper. Apply a little more pressure to the plastic and remember to constantly wet the surface of the headlight with water.
6. Take 2000-grit sandpaper and go over the surface of the headlight with soft circular and then horizontal motions again. Don’t forget to constantly wet the surface and sandpaper with water. During this process, rub the edges of the headlight slightly.
7. Rinse the surface of the headlight with water and wipe it dry.
8. Using paper towels, wipe the surface with rubbing alcohol to remove any traces of grease.
9. Cover all of the areas around the headlight with the plastic wrap or trash bag. Leave only the headlights uncovered. Secure the wrap with masking tape.
10. Use the polish to make your car’s headlights clear again. Spray the polish onto a microfiber cloth and start rubbing it into the surface of the headlight in circular motions.
11. Rub the headlight with carnauba wax to prepare it for the final step. Let the headlight dry.
12. Apply the UV sealant to the headlights to prevent them from hazing over again.