How to Ride a Bike
The bicycle is not just an environmentally friendly means of transportation, but it also allows us to save money and lead a healthier lifestyle. That’s why learning to ride a bike is definitely worth the trouble, and it’s actually fairly easy to do. Plus, the best thing of all: people say that you “never forget” how to ride a bike.
For all these reasons, 5-Minute Crafts has prepared a simple guide for how to ride a bike for the first time or help others who want to learn.
1. Make sure you have the right equipment at all times
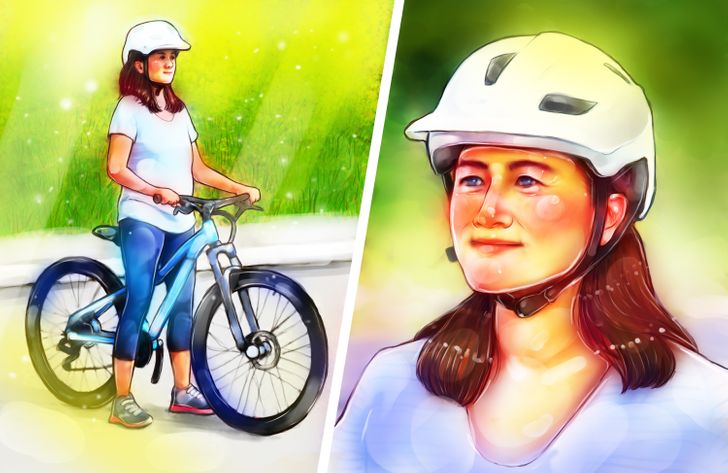
- Before even hopping on a bike, you have to make sure that you have the right equipment. Start by checking to see if your bike is suitable for you. Your legs should be able to move on either side of the frame without it touching your crotch. You should also be able to keep the soles of your feet flat on the ground, like in the image above.
- When you’re learning how to bike, it is often recommended that you lower the seat as far as possible and check to see if you can touch the floor with your feet while sitting.
- Wear a long-sleeved shirt to decrease the likelihood of injury in the event of a fall. Also, wearing tight-fitting pants will help prevent the fabric from getting caught on the gears or the pedals.
- Don’t forget to wear your helmet properly so that your forehead and head are well protected. You can always stay on the safe side and wear some other safety gear, like elbow and knee pads.
2. Choose a suitable location
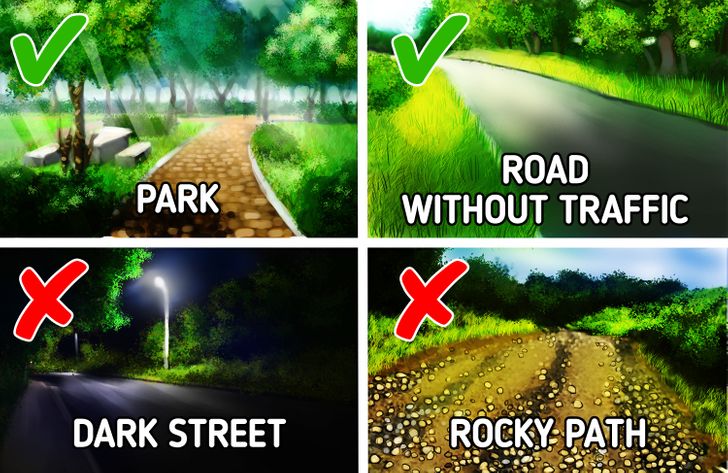
- While you’re still learning it might be better for you to practice somewhere flat and free of traffic, to avoid any extra difficulties. It’s also important that you have good visibility, so it’s better to do it during the day.
- If you are afraid of falling on terrain that is too hard, like pavement, you can ride your bike on grass as long as it’s allowed in your community. However, you should make sure that the grass is not too long, as this could hinder your mobility as well.
3. Adjust the seat height and test the brakes before starting
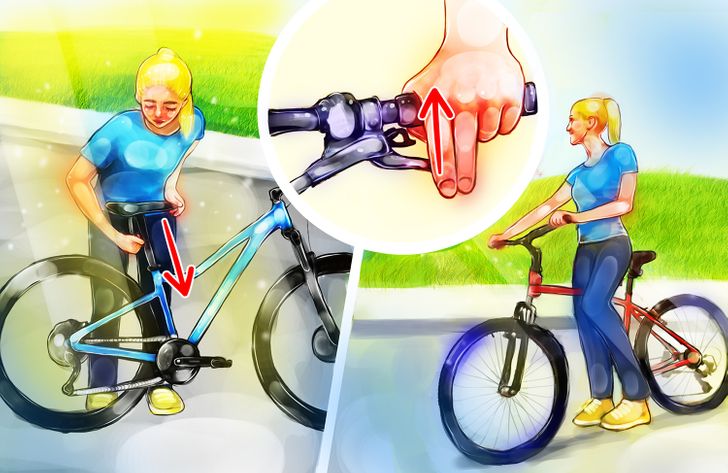
- To begin, lower the seat so that you can sit comfortably and still be able to touch the ground.
- Then move the bike forward and backward, and use the brakes separately to find out which one corresponds to the front and rear wheels and to make sure they’re working fine. Keep in mind that it’s always better to avoid pressing the brakes too abruptly and too hard, as this could cause you to fall.
4. Get on your bike and ride
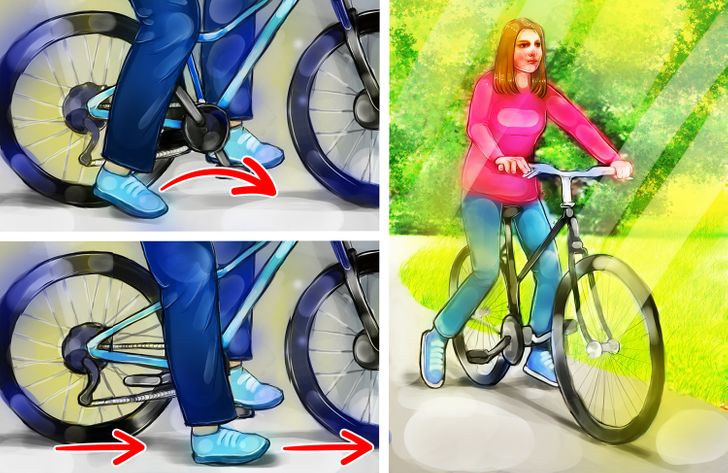
- Sit down and place your dominant foot, whether you are right- or left-handed, on the pedal. Use the other foot to push the whole bike forward, as if you were riding a scooter. Doing that will help you keep your balance and test the brakes again but at a slower speed to see how much pressure you need to apply. You will also be able to steer the handlebars more confidently, so don’t be afraid of gaining a little bit of speed here.
- Relax your arms and keep your body weight centered by maintaining an upright position. Don’t forget to always look straight ahead as if you are driving.
- If you feel confident enough by now and you’re up for a small challenge, you can use a small variation of this technique. Take your dominant foot off the pedal and lift both legs slightly as your bike is moving. This way you will get used to finding your center of gravity without having any of your feet touching the floor and you’ll be one step closer to riding a bike.
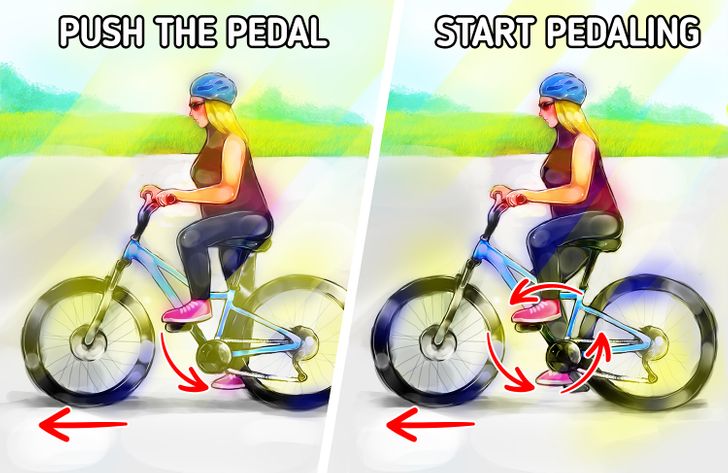
- Once you have mastered the above technique, you can start using both pedals normally. Position the pedal corresponding to your dominant foot slightly upward. It should be positioned in such a way that you can easily push it forward to make the bike move with an initial motion of the pedal.
- Once in motion, place your other foot on the other pedal and start pedaling at a pace that’s fast enough to allow you to move forward without losing balance. Place your hands on the brakes without pressing them. That way you can use them whenever you feel you need them.
- Remember that the bike must already be moving at a steady speed to bring your feet up to both pedals. If you are still moving too slow or stopped, it’s very difficult to maintain your balance so don’t be afraid of pedaling to move faster.
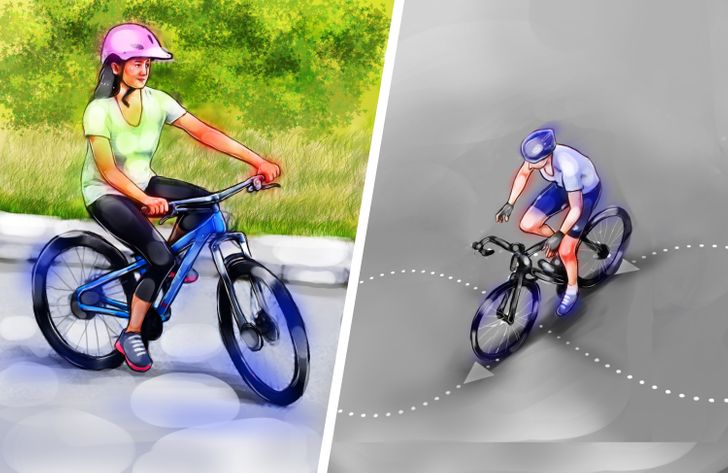
- Once you feel comfortable pedaling, you can move onto the next stage. Practice turning the handlebars in the direction you want to go. Ride your bike in wide circles or make a figure 8 to learn how to steer. Avoid pedaling at exactly the same time you’re turning, as it will be more difficult to control the bike if you’re going too fast.
- Anticipate each turn by slowing down a bit and then speeding up right after you’ve made the turn.
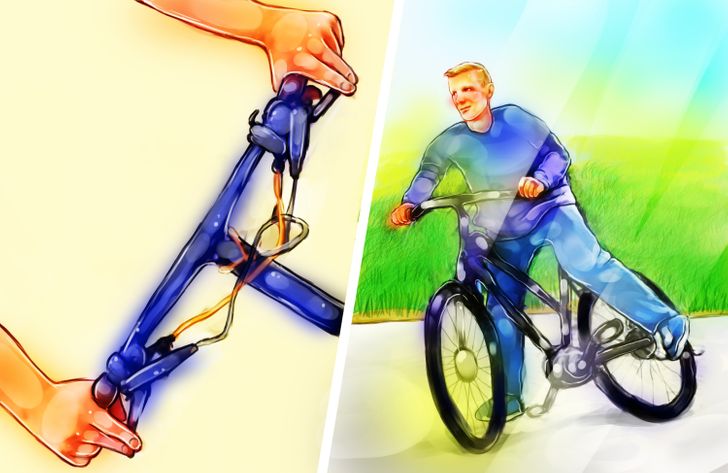
- Whenever you want to stop, first stop pedaling to slow down. You can rest your weight on one of the pedals, preferably using your dominant foot as support. Then press both brakes lightly, at the same time and with equal force, but only once you’ve reached a slower speed. Then, when you feel your speed is slow enough to place your non-dominant foot on the ground, do so and stop completely.
- Get off the bike by moving it slightly to the side to avoid bumping against it. Never put both feet down or press the brakes at the same time that the bike is going at a medium to high speed, as you could lose your balance, hit something, or fall off.
- Remember: you should never press the brakes too hard if you use them separately. Doing that might cause the bike to lift forward or backward. If you’re riding too fast, then press your brakes lightly until you can repeat this whole procedure.
Bonus: 4 common mistakes and how to avoid them
1. Having the seat at the wrong height
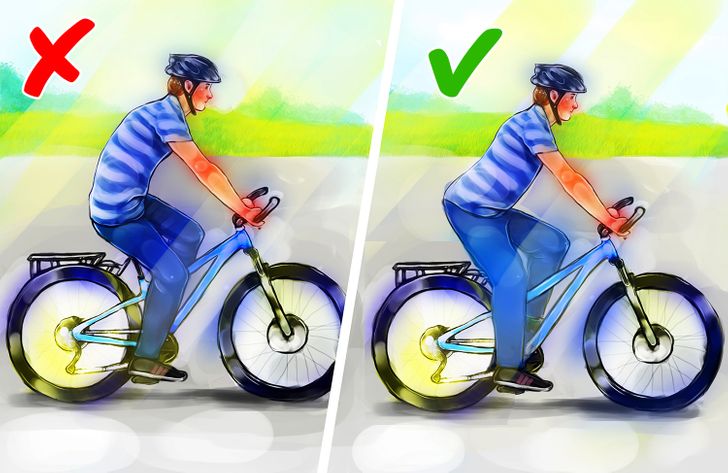
Even though at first, it’s often recommended for your seat to be as low as possible so that you can easily touch the ground with your feet, this does not mean that it should always be kept that way. If your seat isn’t positioned at the right height you might end up suffering from injuries while pedaling. Seat height can also affect your speed.
To check whether your seat is at the proper height, make sure that, while seated, your leg is very slightly bent and your foot touches the pedal smoothly.
If you have to bend your legs too much when pedaling or cannot reach the pedals, then you should raise or lower the seat until you are comfortable.
2. Wearing clothes that are too dark
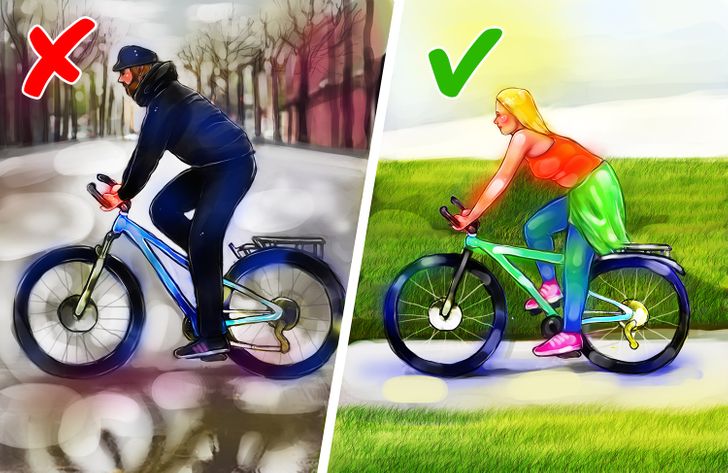
Dark-colored clothing can cause other cyclists, motorists, or pedestrians to miss you, which, as you can imagine, isn’t the most convenient thing, especially if you’re riding on a road that is shared with bigger vehicles.
Instead, it’s better to wear bright-colored clothing or add reflective elements to your athletic attire. This is especially true when you ride at night or on cloudy days.
3. Not doing regular maintenance on your bike
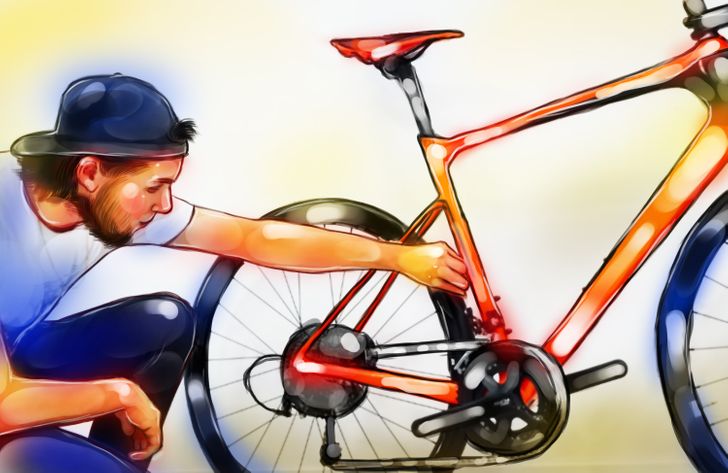
Unfortunately, this is a very common mistake. Somehow, most people tend to think that not using the bicycle very often means that it won’t need to be serviced or cleaned, but that’s of course not true.
Experts recommend that you always keep your bike breaks well lubricated. Same goes for the chain. You should also inspect the state of your tires from time to time. Take your bike to a shop at least once or twice a year to have an expert check to make sure everything is in order and that it’s still safe to use.
4. Not signaling
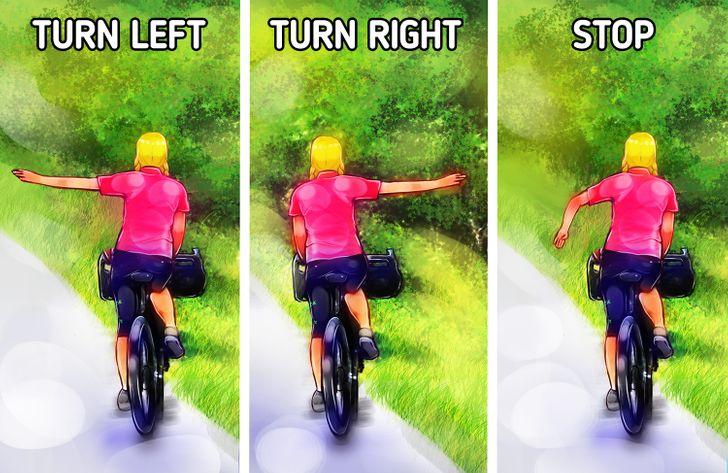
Once you have gained enough confidence and are able to maintain your balance on a bike, it’s important to signal when you want to turn or stop, just like you’d do if you were driving a car. Use your arms to let other cyclists or motorists know the direction you are going in. This will not only make you more visible, but will also help you avoid serious accidents.